In our previous blog post and this episode of #HaksonsInHindi, we spoke about how important it is to visually communicate your product on social media and other platforms. Photography and basic videography of your resin art, have become important business skills, especially for small artist-entrepreneurs looking to build a community of supporters, and customers online.
Photography is not easy, and the field feels like an overwhelming and intimidating one to enter. We understand because, we’ve been there. It is not always feasible to outsource product photography, and clicking pictures by yourself can seem like a mammoth task. While we are far from experts in the field of product photography, in this article, we try to give you our best hacks and tips to create a consistent feed that builds your art brand.
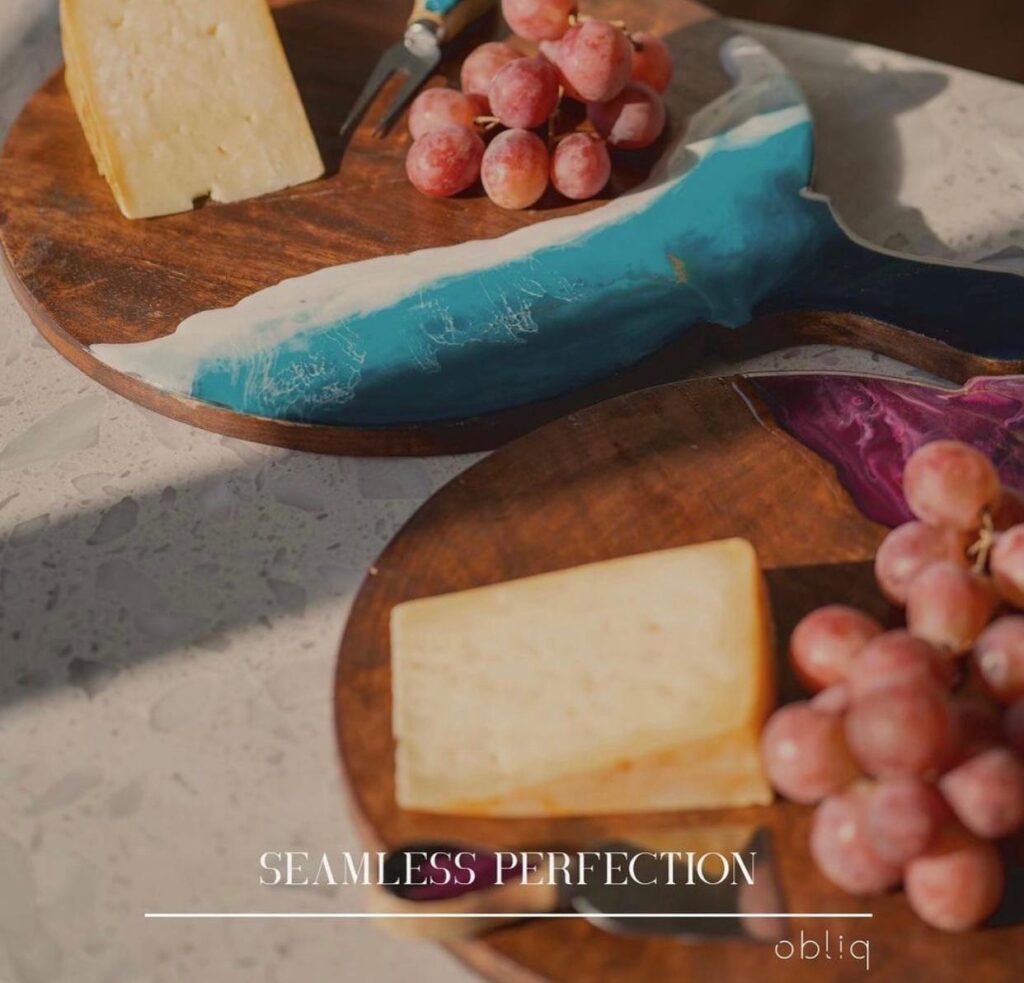
Backgrounds
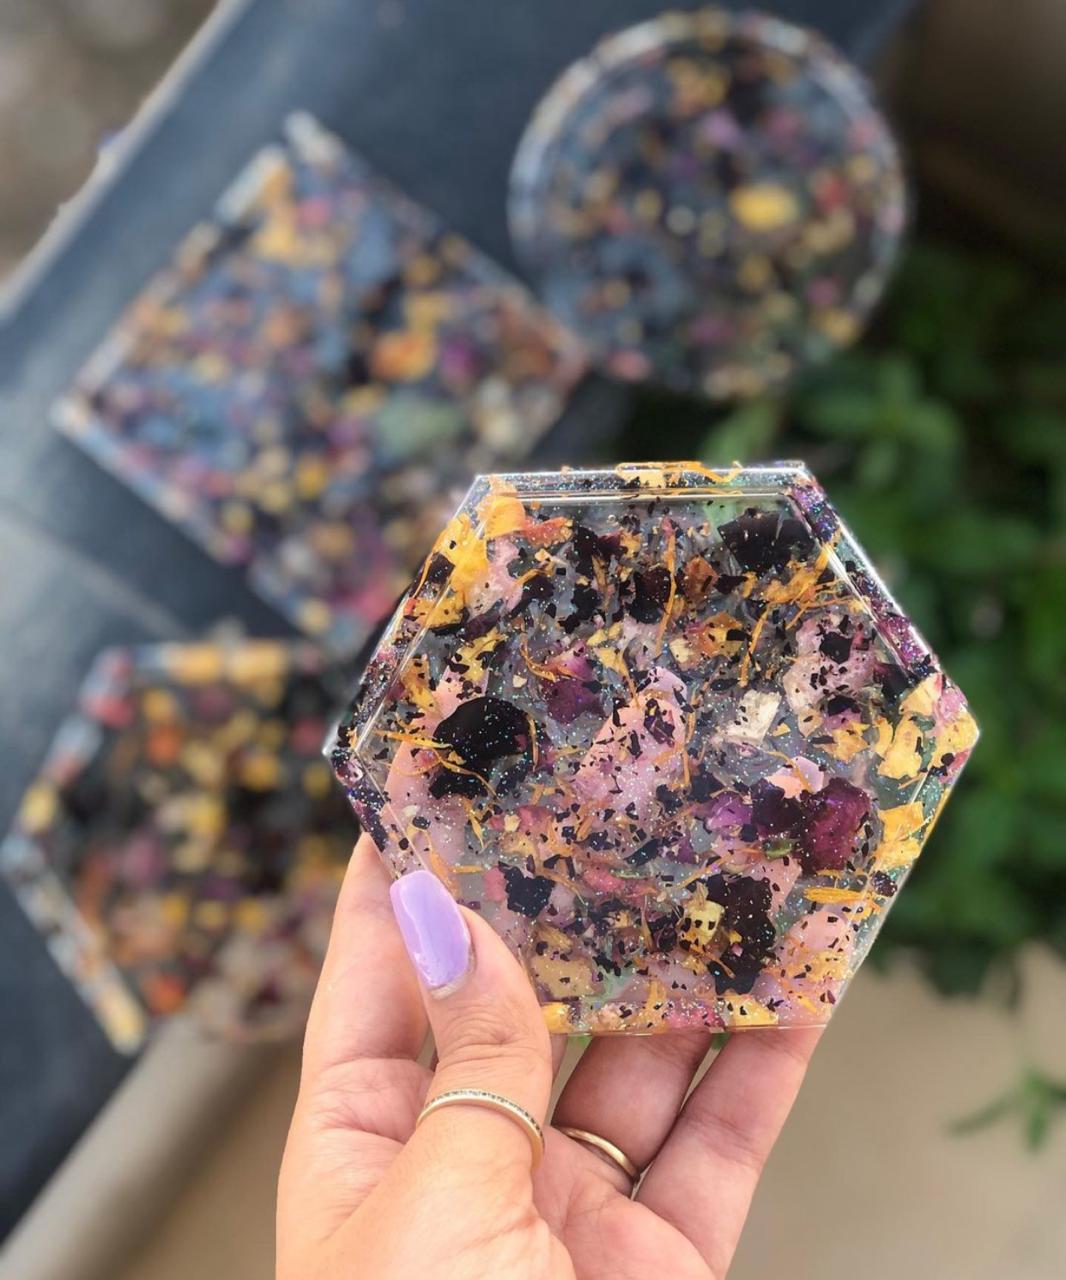
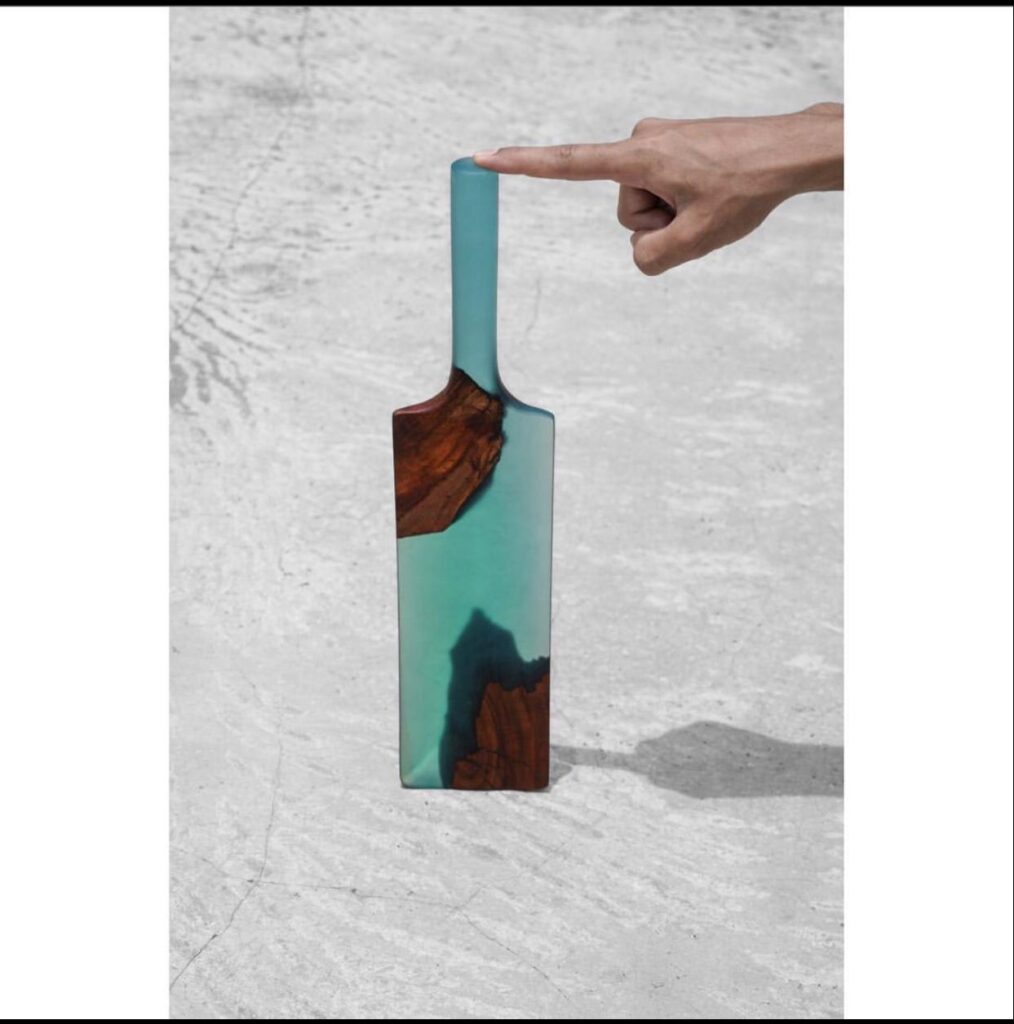
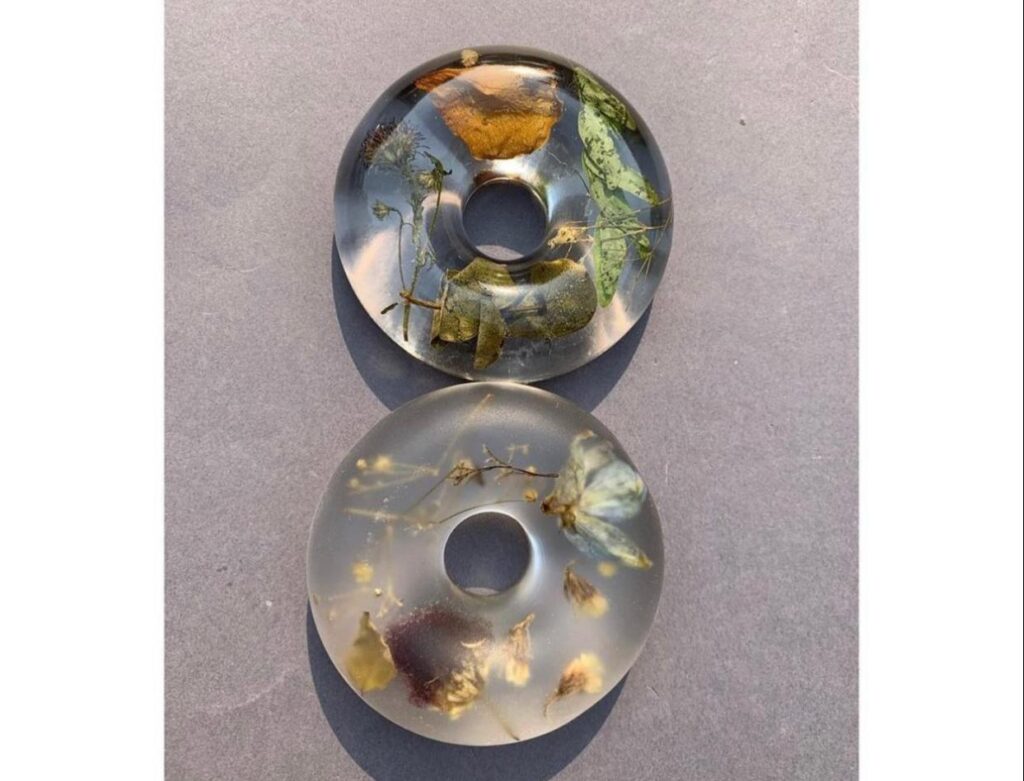
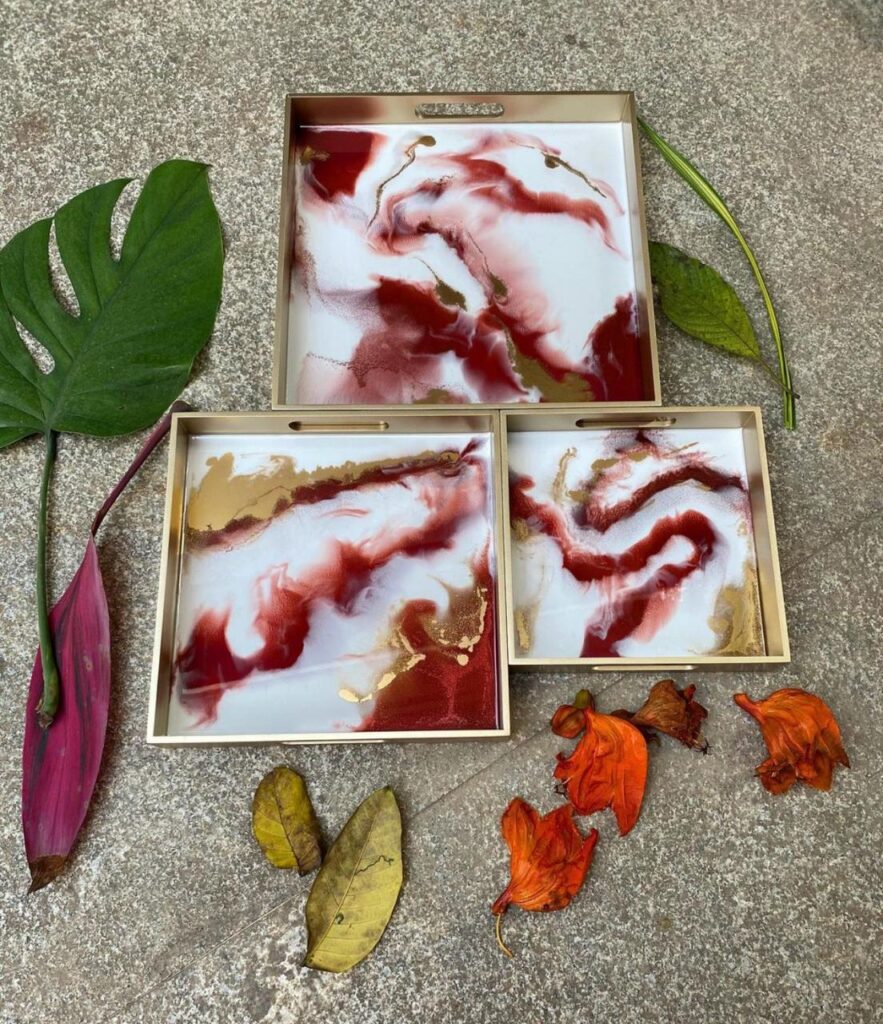
Put a little bit of thought into your backgrounds. Figure out if you want it to contrast with your product, or compliment it. At Bohri Ali, we love using imperfect, everyday backgrounds and let their monotony bring out the beauty of the product we create. We love how this looks! However, several aesthetic resin artists also use plain white backgrounds, coloured paper or everyday fabrics which work with their brand image to create some brilliant photographs.
Lighting
Good lighting can be a complete game changer! The simplest way to ensure you are getting great light is by using natural light. The sun and resin make an absolutely beautiful team, and the photographs of rays of sunshine passing through resin look stunning. Photograph your products when the sun shines into your space, and we believe the results will be fantastic. It may also make sense to invest in a ring light if you would like to show your products in a studio-esque light.
Props
While selecting props to place in your frame along with your product, it is essential to check colours, the idea and purpose of the product and how it fits in with your work of art. It is also essential that these props don’t take away from the product, or don’t outshine the product you have created. Make sure they are pretty, but not the most eye-catching part of your frame.
Setting your frame:
There are multiple ways to capture your product. Flatlays are incredibly popular, and unequivocally a super aesthetic way to photograph your work. You can also choose to photograph your art in action, the way you intend for it to be used. Make sure your product is the focus of the frame!

Filters and Editing
With editing your photos, especially as a beginner, less is more! Overeating can make your product look extremely artificial, and fake. Use editing tools, some great ones are Snapped, that can be downloaded into your phone to edit your photographs.
We also found some great articles on phone photography and product styling which we believe will help you. Check them out!
Tell us how you photograph your products in the comments section below!
