Wondering why you should use resin to seal your pictures? It creates the most durable finish that is impossible to scratch or break also, the Haksons Ultra Clear resin is UV Resistant so your photograph will never yellow or fade over time!
Materials Used
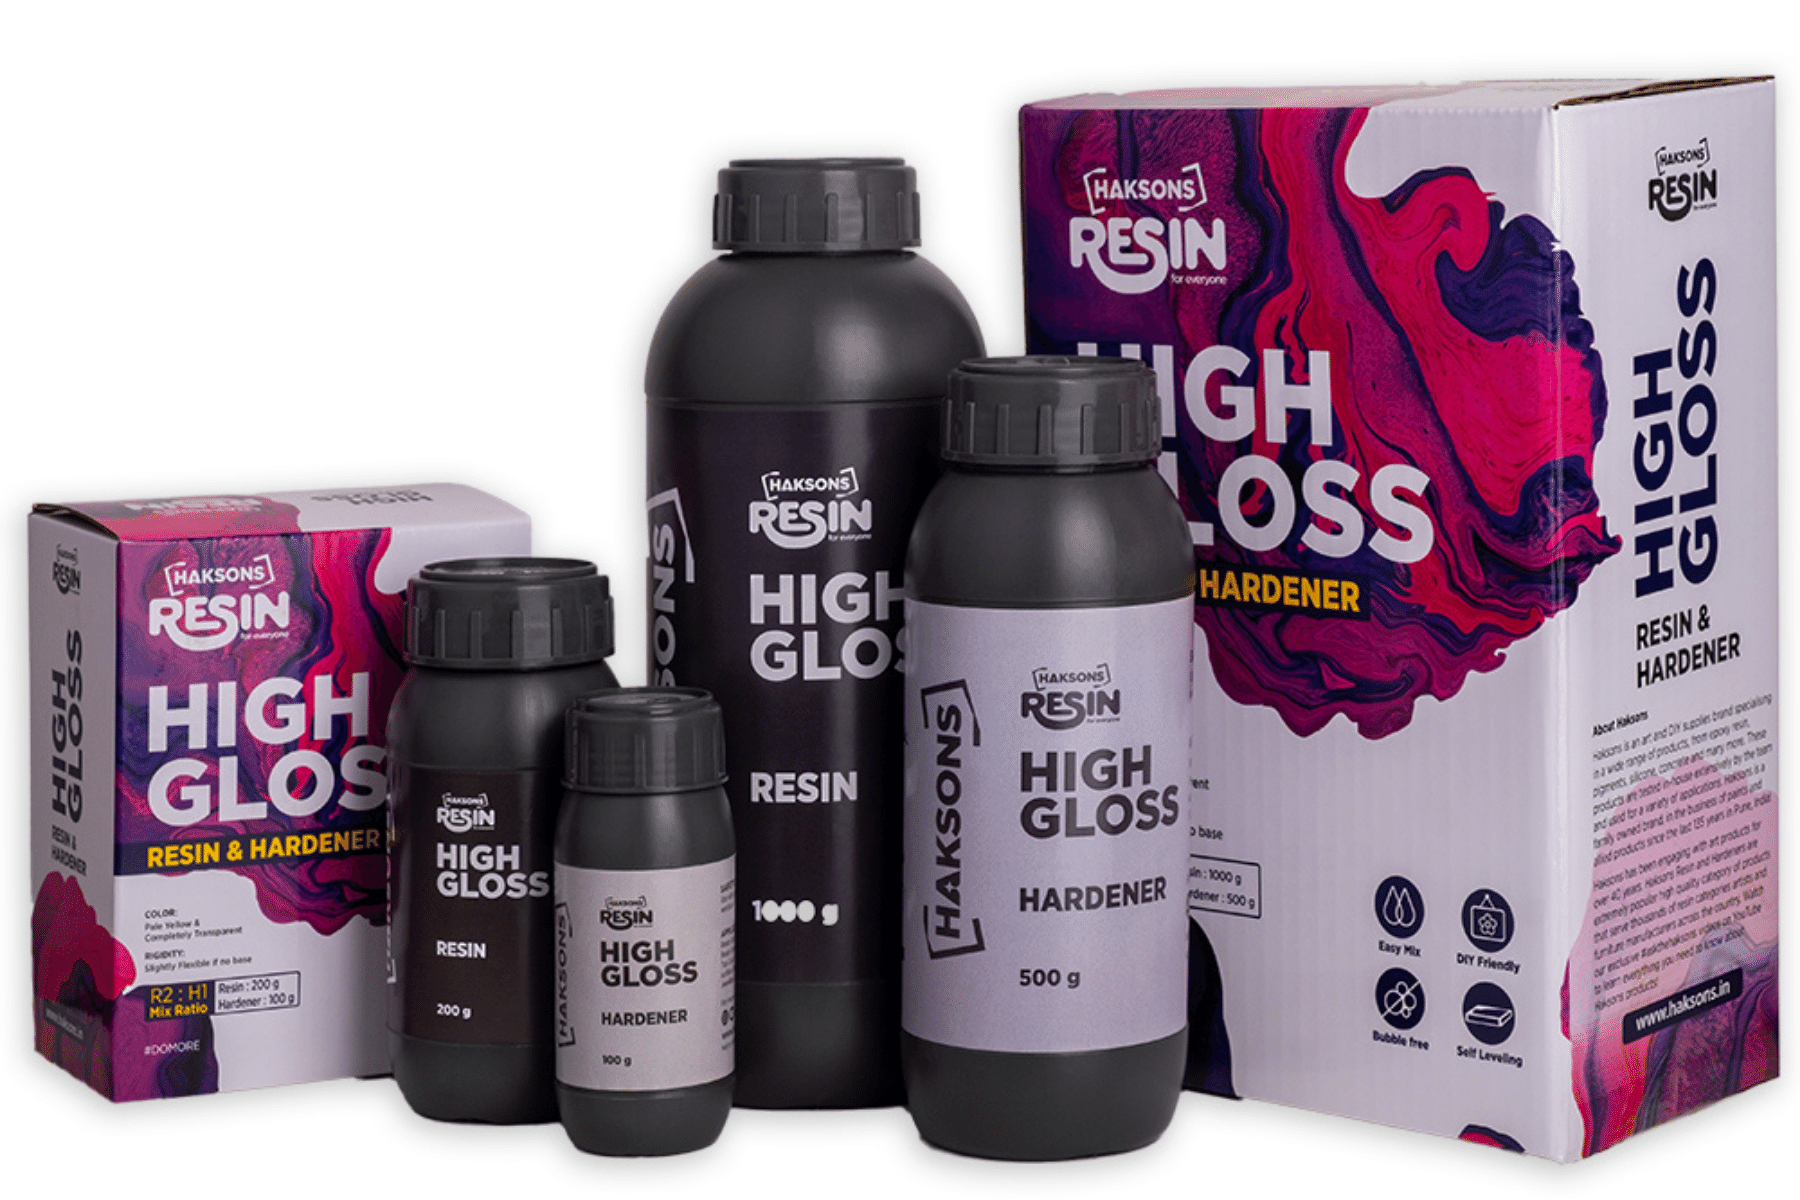
- Haksons Resin & Hardener -Ultra Clear High Gloss Epoxy Resin Coat -Grade I – 120ml
- Dense Foam Roller
- Flat Paint Brush
- Heat Gun
- Powder Free Disposable Glove
- Plastic Container
- Plastic Measuring Spoons
- Wooden Sticks
- Levelled Surface
- White Chalk Paint
- Plastic Sheet
- Plywood – 12×12 inches
- Photograph – 12×12 inches
- Mod Podge
Process
Step 1 Make sure you print out an image that is the size of your plywood. To ensure the finishing of your final piece is perfect go over the edges with white chalk paint in case any of the wood peeps through this will give a seamless effect.


Step 2 Using a flat paintbrush go over your entire surface with one coat of Mod Podge, as if you were painting the wood, make sure there are no blobs of glue before you paste your image.

Step 3 Lay your image flat on the surface, to release any air bubbles between the photograph and the wood cover your image with a piece of plastic and move a foam roller over the top. This will also get rid of the excess glue.

Step 4 Mix your resin depending on the size of your image, for the 12×12 inches, you will need around 120ml of resin. Once cured pour the resin over the surface, you do not need to prime the top of the photograph since it is a non-porous surface. If you have any bubbles, use a heat gun to get rid of them. Once you’re happy with the finish to cover your piece for 24 hours.


Hurray!!! You have preserved your prized photographs with Haksons Ultra Clear Resin and Hardener.


ABOUT THE ARTIST
@krishnatolia – She is a self-taught artist from Mumbai who draws most of her inspiration from nature and loves the conflicting simplicity and complexity of abstract art.
Follow us on Instagram to win exciting offers!
