What do you need to give your painting a glossy and protective layer using resin?
1. Your amazing art ( Painting to be coated.) 
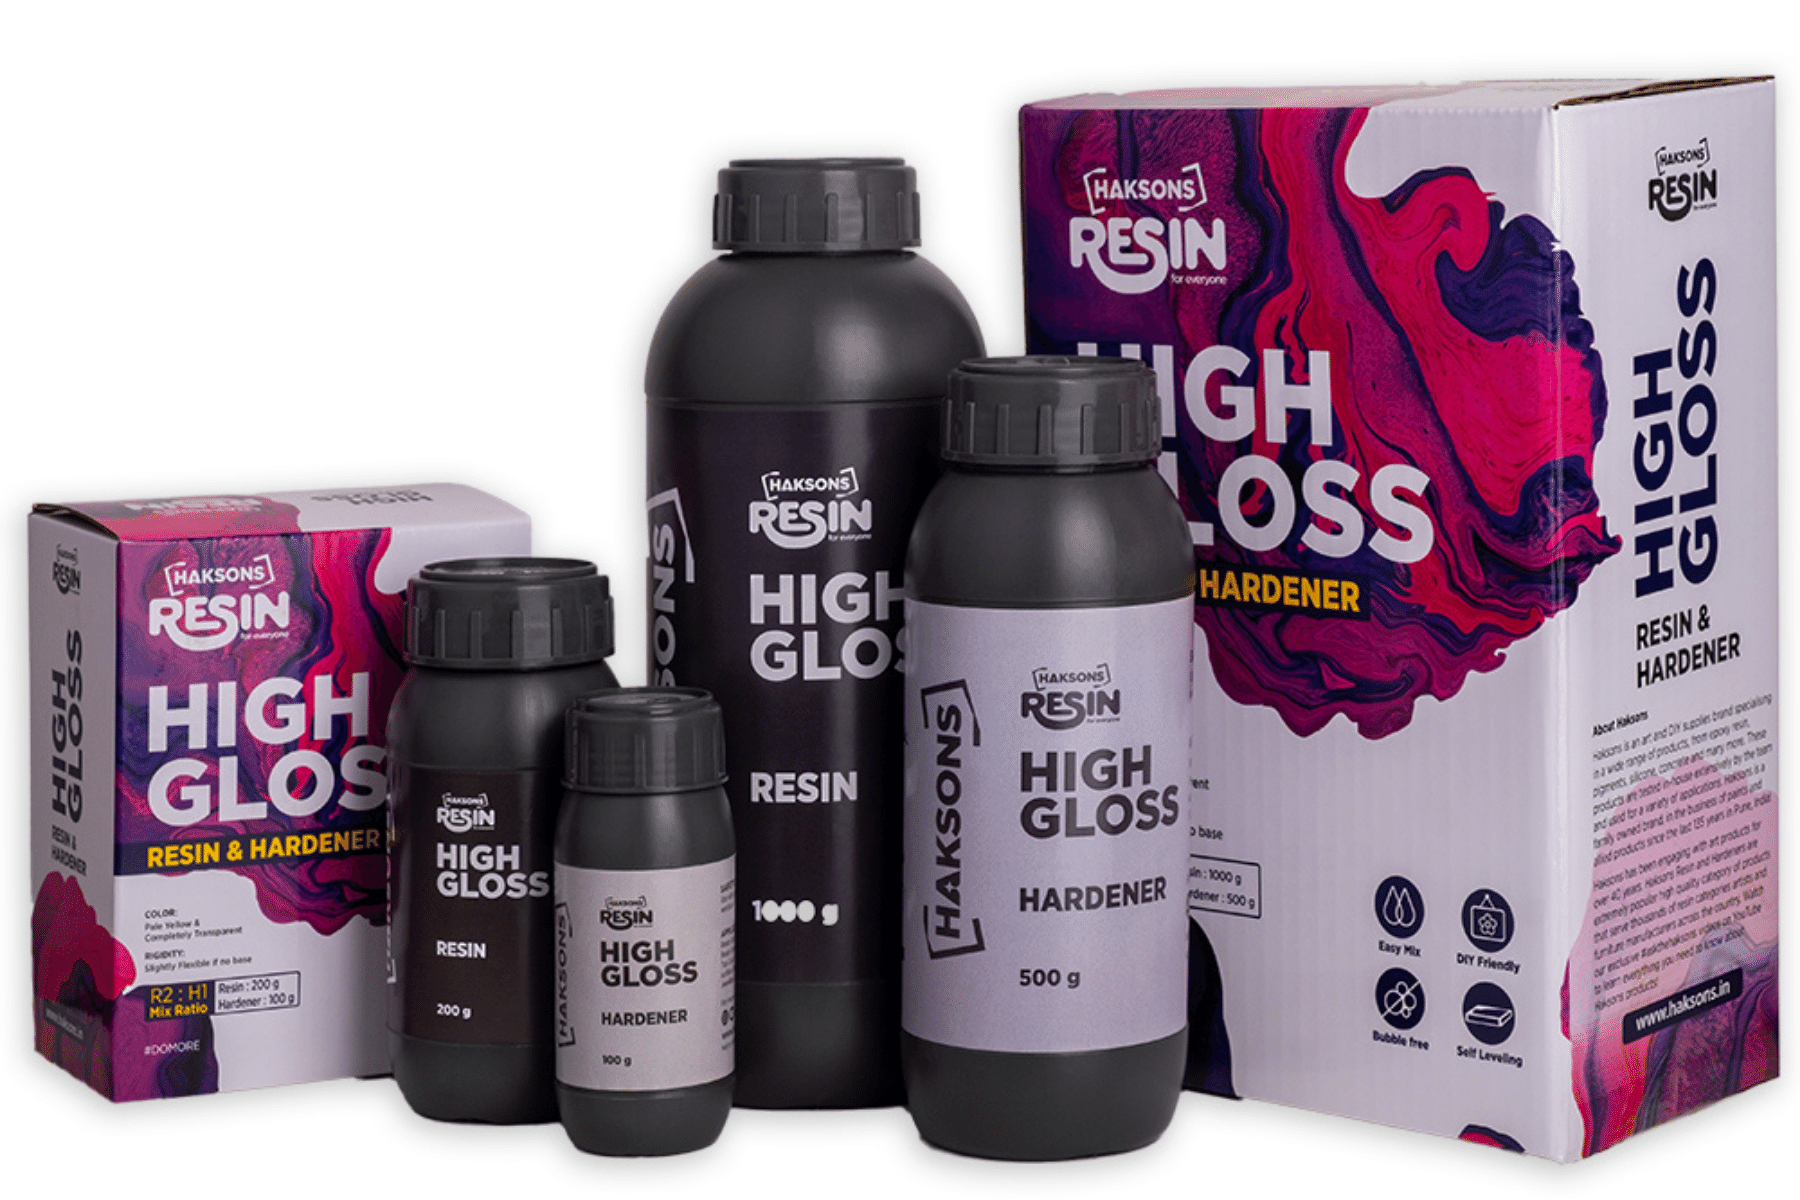
2. Resin & Hardener
3. Spatula/Spreader or any such material to spread the solution.
4. Dremel Versaflame/ Blow – torch (Optional)
[maxbutton id=”5″]
How do you use resin?
Step 1: Mix 2 parts of resin with 1 part of hardener. Mix it and let it rest for 15-20 minutes.
Step 2: Pour the mixture over your art carefully.
Step 3: With the spatula, spread it evenly all over the surface.
Step 4: If you have access to the heat gun or versaflame, eliminate all the bubbles formed by slowly going through the entire art with the flame generated by the heat
Step 5: Let the coating cure for about 24 hours for maximum hardness and protection.

Ten Minute Resin Art project to create a NEON Coaster or a Paperweight!
We took an Ice cream container and poured some resin hardener after mixing it in the right quantity as mentioned in the steps above. Note that the mould must be a PVC container or a plastic container or else it will not be difficult to remove the mixture.
We then took the yellow Hakson’s neon colour and left a drop on the surface of the poured resin. We used the other end of a brush to give the drop of paint a swirl in the resin. You can use anything you are comfortable instead of a brush depending on what you actually want to create. A needle would be perfect for fine art, whereas brushes for relatively thicker lines. With the brush we could make sure that the colour penetrates different layers and has a 3D effect in the resin. We repeated this with a number of colours until there was this whirlpool-esque effect of the neon colours. (We’ve just experimented with the pattern in our coaster)
Use a blow torch to get rid of all the bubbles on the surface of the mixture.

The mixture takes around 24 hours to curate depending on the climatic conditions of the environment. Note that, the environment must be dust-free and it is important that the mixture is left undisturbed for 24 hours.

The next day, we used a simple cutting blade and cut out the mould from the rest of the container. With a little bit of pressure, the resin hardener coaster was now separated from the mould. Using UV light or blue light, the neon effect of the paint came out really well. Even in daylight, the colours and the 3D effect of the paint gives a beautiful feel to the coaster.


You can use this method to make any shape that you wish with the resin hardener. You can use a number of elements such as paints, crystals, glass, flower petals, leaves, seeds
embedded in the resin hardener with a beautiful 3D effect. Our Pinterest board has resin art projects from all over the world from a number of artists. Resin Art projects are simple to execute, require very less time and the end product is extremely fascinating and long lasting. The permanent nature of curated resin hardener is very long lasting and will not break or come apart even in extreme conditions if executed correctly.

This is just a small glimpse of what you can do with resin. Visit our Pinterest board and open up a world of possibilities! We post our projects regularly there along with resin art from all over the world. You can use it to post your work as well!
[maxbutton id=”5″]
[pin_board url=”https://www.pinterest.com/BohriAli/resin-art/” size=”custom” image_width=”400″ board_width=”900″ board_height=”450″]
