We all love adding little accents around the kitchen and what better way to showcase your artistic side than to add a unique magnet that you DIY! Let’s create fridge magnets with Haksons Resin and Hardener.
Materials Used
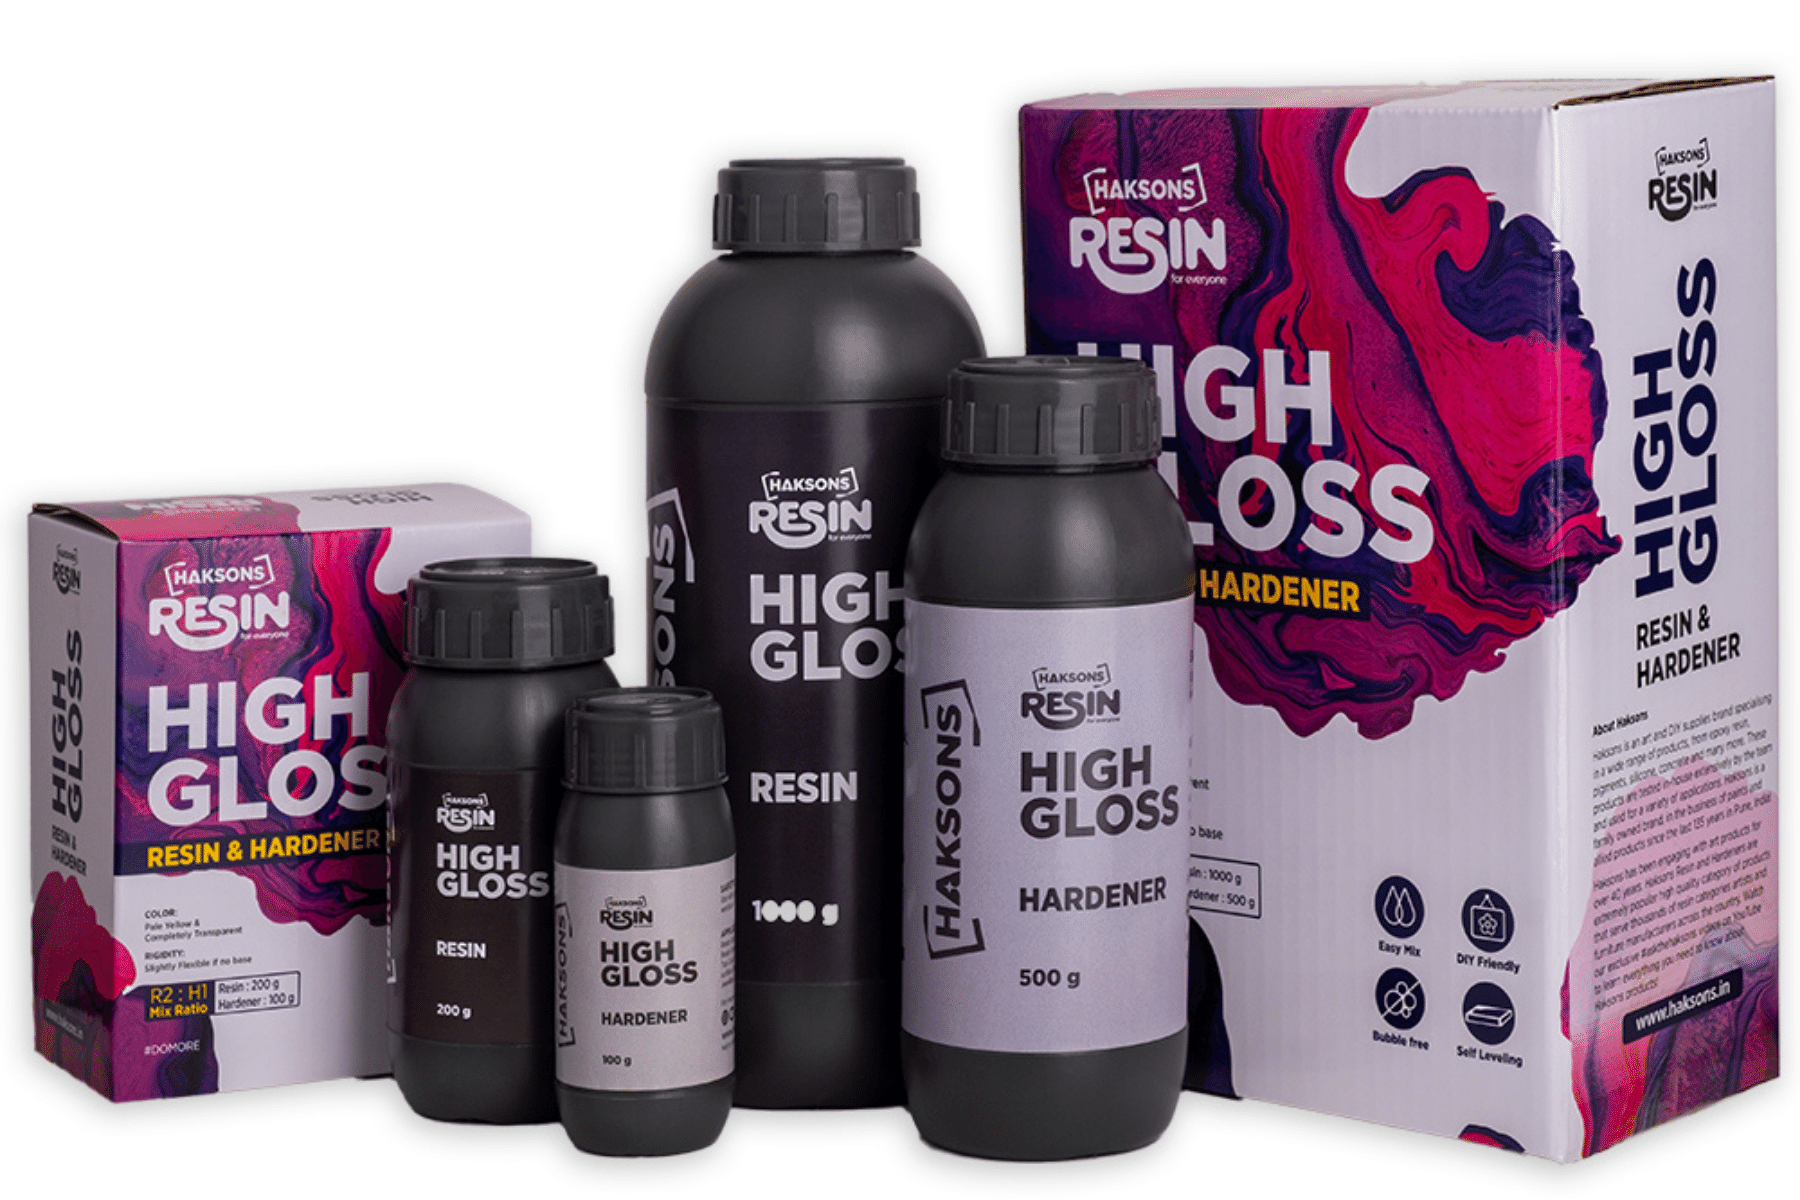
- Haksons Resin & Hardener -Ultra Clear High Gloss Epoxy Resin Coat -Grade I
- Glass Colours – Light Blue, Purple, Green, Orange, Pink, Red, and White
- Blow Torch
- Industrial Strength Glue
- Plastic Container
- Plastic Measuring Spoons
- Wooden Stick
- Flat Round Silicone Mould
- Magnet Discs
- Spray Bottle with Rubbing Alcohol
Process
Step 1: Begin by mixing your resin, for this project I used around 40ml for each magnet.

Step 2: Once your resin is mixed pour it into the mould and use a blow torch to get rid of any bubbles.


Step 3: Then start adding your glass colours drop by drop, I choose two colour palettes and in no particular order kept adding the glass colours till the top was completely coated.

Step 4: Now for a more seamless effect spray the resin with rubbing alcohol, this will create some beautiful variations. Once you’re happy with the pattern to cover your mould and set it aside for 24 hours.


Step 5: When your resin is completely cured unmould your magnets, flip each one over to reveal the unique patterns you’ve created.

Step 6: Onto the final step, add a dab of industrial strength glue to the stick the magnet to the back of each piece let it dry.

Fridge magnets are ready to use!


ABOUT THE ARTIST
@krishnatolia – She is a self-taught artist from Mumbai who draws most of her inspiration from nature and loves the conflicting simplicity and complexity of abstract art.
Follow us on Instagram (@BohriAli) to win exciting offers!
