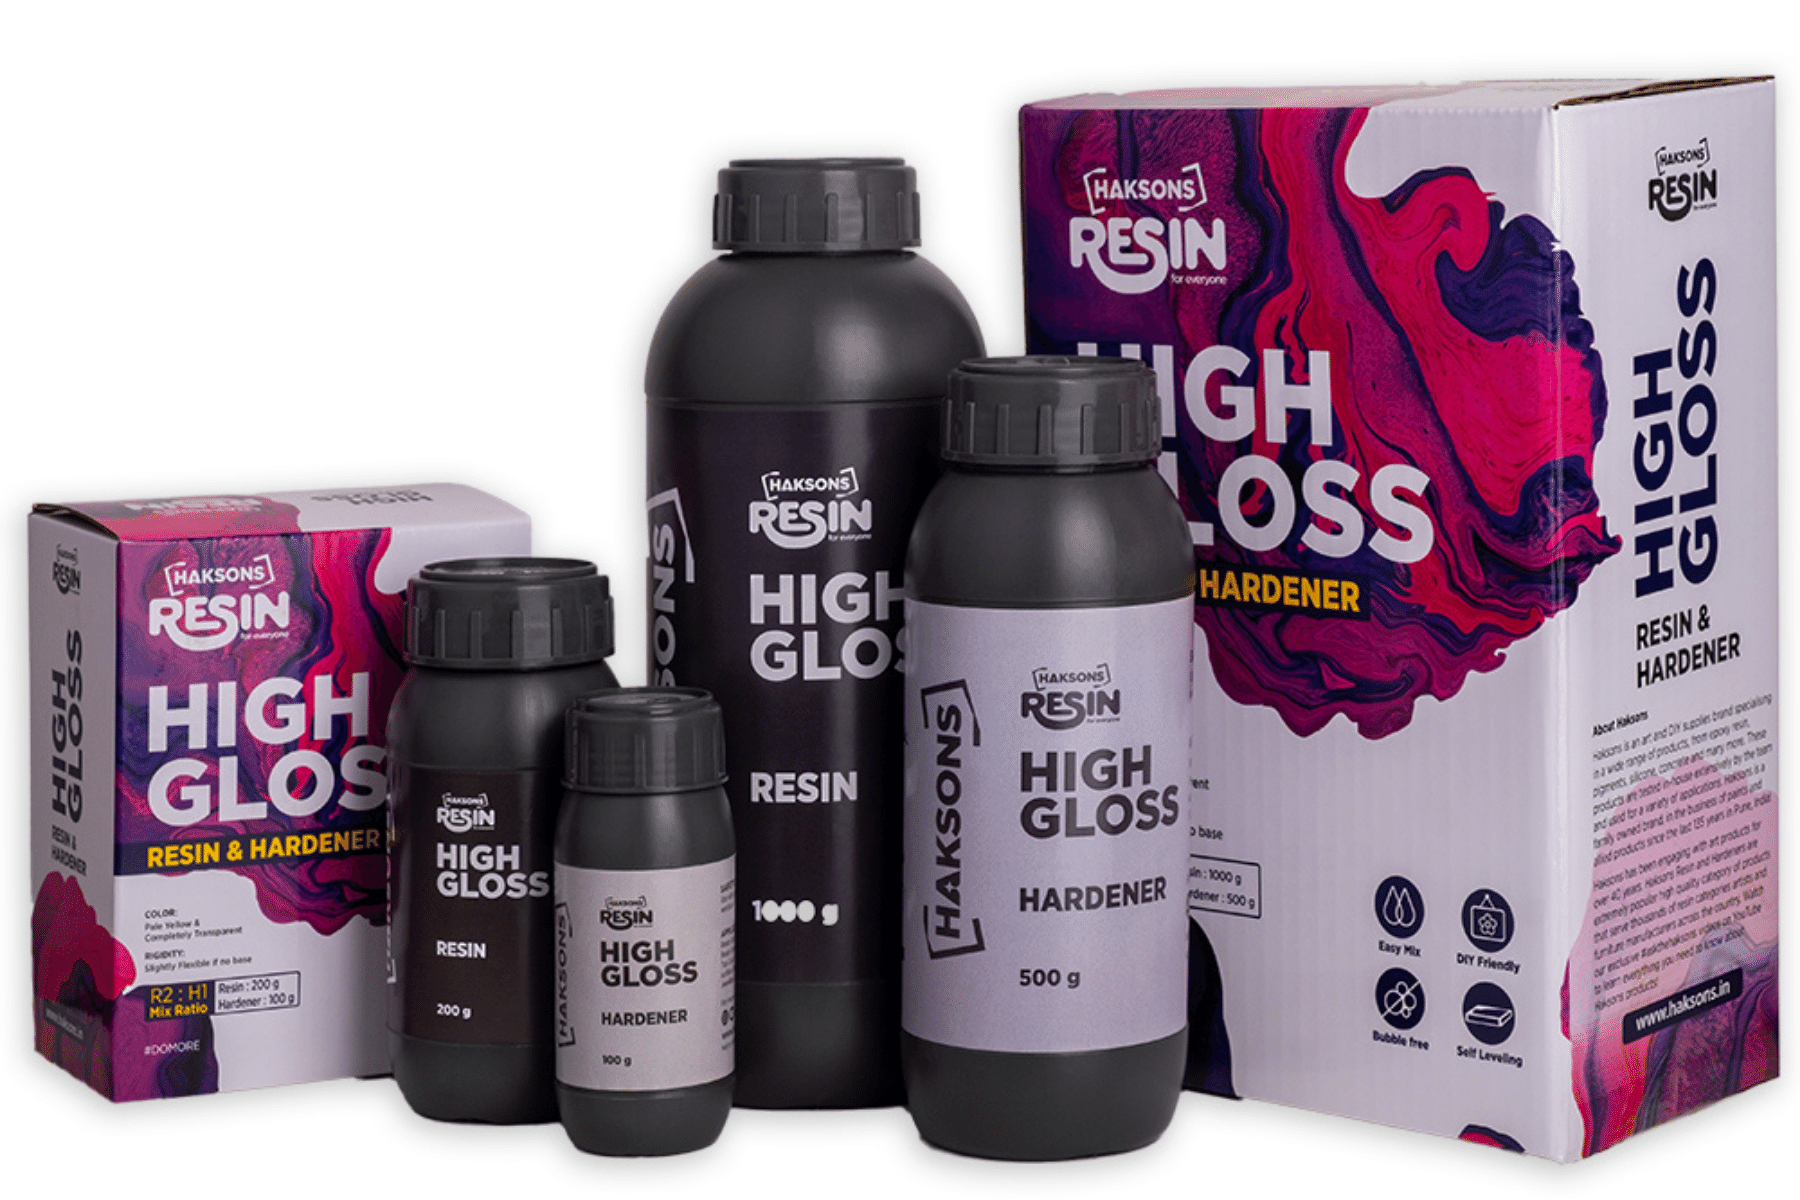
Haksons Resin and Hardener has been one of our signature products right from the time we launched BohriAli.com! It has also quickly turned into one of our top-selling products on our website with patrons ordering it for a number of applications like Jewellery, Art Coating, Glass Painting, Table Top, Home decor and much much more! The sheer amount of things you can do with this product will leave you wanting for more.
We already posted a blog where we used it to make a coaster in ten minutes. It was a ten minute project with some neon paints used to give a 3D effect. We decided to take the Haksons Resin and Hardener for a stern test by using it to make a table top from three wooden planks with beautiful wood grain textures and real leaves! The video below takes you through the project and we’ve posted a few hacks in this post which will help you use the Haksons Resin And Hardener better. Hope you enjoy the video!

Tips to use Haksons Resin and Hardener
- Maintaining the 2:1 ratio between the Resin and Hardener is absolutely essential. Prepare only as much liquid as required. The mixed liquid has a very short pot life of about 20 minutes after the reaction. Follow the instructions mentioned on the bottle to prepare the Haksons Resin and Hardener
- Make sure you finish the surface you are going to use the resin with. If the surface is porous you will need more resin than normally required. For example, after engraving some surfaces become porous, so the resin seeps through and you need to add more coats till you get the required layer over the surface
- Haksons Resin and Hardener is self levelling. It is important that zero level is maintained very well on the surface on which the resin is going to be poured
- It is advisable to do the application of resin indoors in a controlled environment unless you are an expert and know how to protect the layer while it cures
- Use a Torch to blow away bubbles from the surface. Use it at a distance of few inches away from the surface
- Before trying it on any artwork or painting, it is good to use it on a similar sample surface to see how the colours turn out and also to get a feel of the product
- Haksons Resin and Hardener, once applied cannot be removed
- Use Haksons Glass Colours to tint your Haksons Resin and Hardener and use it for glass painting and other applications
- Warming the Haksons Resin Hardener slightly before mixing is advisable in cold and damp weather.
- Once cured, it is almost unbreakable and would require a professional drill machine to drill through it
- You can decide the thickness of the resin layer based on your application. A thin layer is economical and easier to cure.
Visit our Pinterest Boards below to see what people are doing with epoxy resin from over the world! We would love to see your projects too! You can write in to us on Facebook or our email address with pictures of your art 🙂
[pin_board url=”https://www.pinterest.com/BohriAli/resin-art/” size=”custom” image_width=”400″ board_width=”900″ board_height=”450″]
